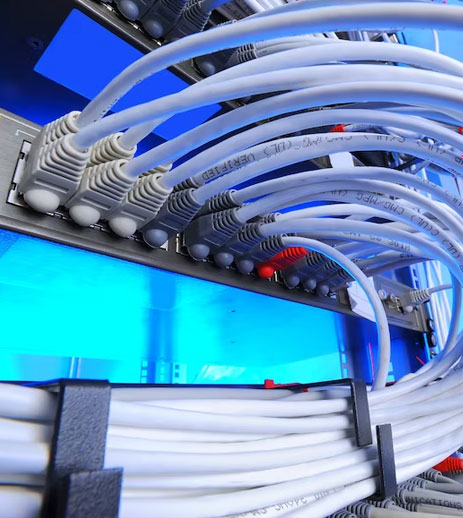
The installation of a fiber optic LAN (Local Area Network) cable involves a series of steps to ensure that the network functions reliably and securely. Here's a basic guide on how to install a fiber optic LAN cable:
Important: Fiber optic cable installation should ideally be performed by professionals or technicians who have the expertise and proper equipment, as it involves handling delicate and sensitive optical components. If you're not experienced with fiber optic installation, consider hiring a professional.
Gather Materials and Tools:
Fiber optic cables (single-mode or multi-mode, depending on your network requirements). Connectors (LC, SC, etc.).
- Fiber optic patch panels and enclosures.
- Fiber optic termination and splicing tools.
- Cable trays or conduits.
- Fiber optic cleaning materials.
- Safety gear (safety glasses, gloves).
- Plan the Installation:
Determine the path of the cable route, ensuring it is away from potential sources of interference, like electrical cables. Measure the required cable length and cut it to the appropriate size. Plan the locations for termination points, like wall outlets, patch panels, and cabinets. Prepare the Installation Area:
- Ensure that the work area is clean and free from dust and debris. Arrange for proper lighting to work with the tiny fiber optic components. Cable Installation:
- Run the fiber optic cable through cable trays, conduits, or along the chosen route. Secure the cable in place using cable ties or clamps to prevent damage from movement or bending. Termination:
- erminate the fiber optic cable by attaching connectors to both ends. Connect one end to a fiber optic transceiver or patch panel in the equipment room. The other end should be connected to a wall outlet or another termination point in the desired room.

